Supplier Smart Onboarding
Coupa provides a guided onboarding experience tailored to your relationship with your Coupa Pay customer and the payment options they offer.
Completing each of the onboarding steps ensures you are ready to transact and receive payments from your customer.
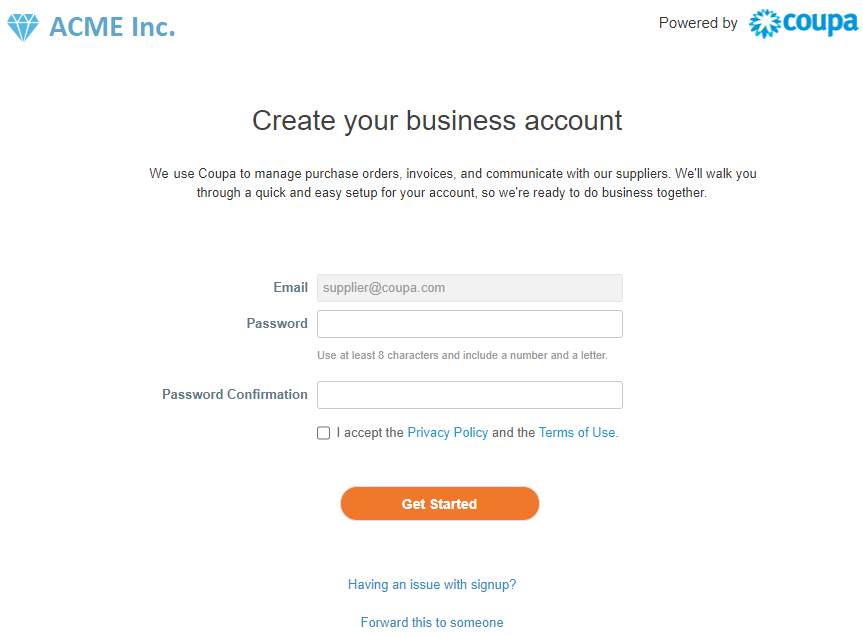

Onboarding Flow – Welcome
When you register or log in to the CSP to do business with a new customer, you are guided through the following elements of an onboarding flow to provide your customer with the necessary information: welcome message, basics, payment, and profile.
Note: Some elements of the onboarding flow, for example, fields for invoicing setup and bank information for payment, are available only if you are based in the US, that is, your selected country/region is the United States. If you are not a US-based supplier, only the basics and profile elements are available.
You can provide this data when setting up legal entities after onboarding.
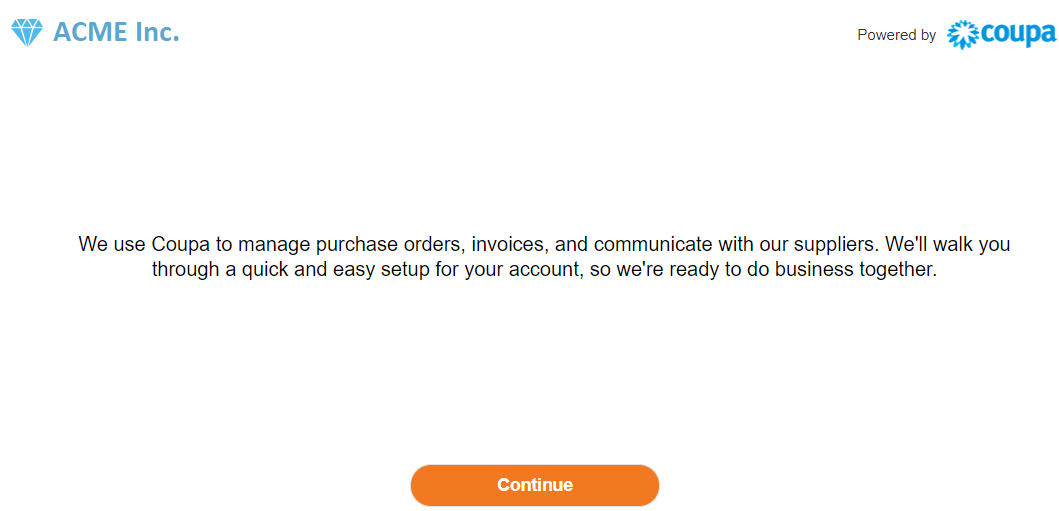
Onboarding Flow – Welcome
If you are already registered to the CSP, you can see the welcome message also when you log in for the first time from a new customer-created invitation.

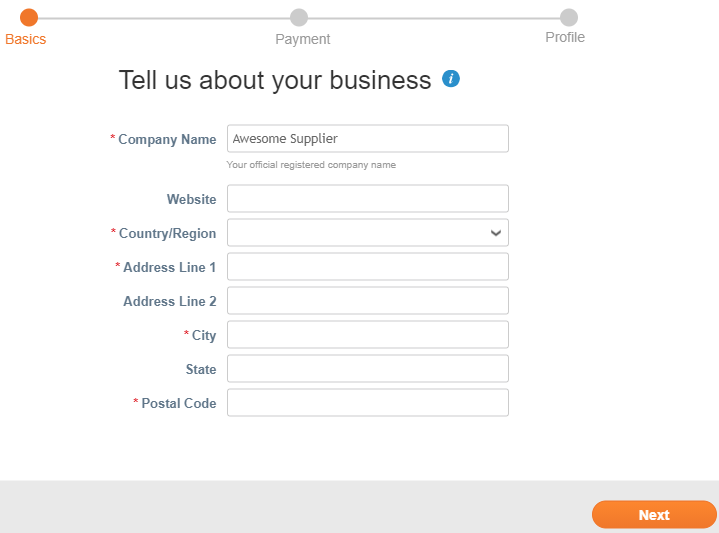

Onboarding Flow – Basics (Non-US supplier)
Clicking on the Get Started or Continue button from the “Welcome” screen takes you to the “Tell us about your business” page where you can provide your basic information. Click on the Info icon (blue icon with the letter “i”) to learn more about the fields
Fill in the following fields: Company Name (registered company name to be displayed on your invoices), Website, Country/Region, Address Lines 1-2, City, State, and Postal Code.
Name and address fields are pre-populated if your customer already has the information from you in their supplier record, or if you are already registered to the CSP to transact with other customers and provided the information in your profile. You can also choose to update these fields.
Mandatory fields are marked with a red asterisk (*).
When you are a supplier not based in the US, at the bottom of the page you are informed that you are “All set for now. On your first invoice with (customer name), we will guide you through your legal entity setup.”
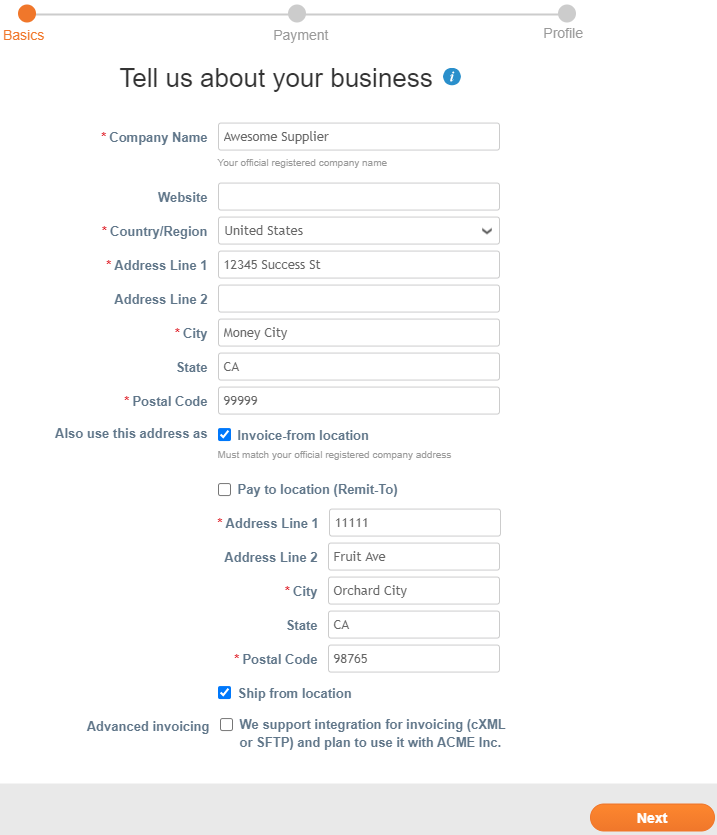
Onboarding Flow – Basics (US supplier)
If you are a US-based supplier, after providing your address, you also have the option to set up a legal entity. To do that fill in the appropriate details in the “Also use this address” option and keep the relevant checkbox(es) selected:
– Invoice from location is the main address of your registered business or the registered entity you will be invoicing your customer from.
– Pay to location (Remit-To) is the address your customer will use to send your payment; remittance address.
– Ship from location is usually your warehouse location.
Or, if you want to provide a different address for invoicing, payment, and/or shipping, deselect the relevant checkbox(es) and enter the new address.
Also, the Advanced Invoicing checkbox allows you to indicate if you support integration for invoicing (cXML or SFTP) and plan to use it with your customer.
If you are already registered to the CSP and you set up a legal entity earlier, you can also see the Use my current legal entity drop-down from which you can select your existing legal entity to provide it to your new customer.

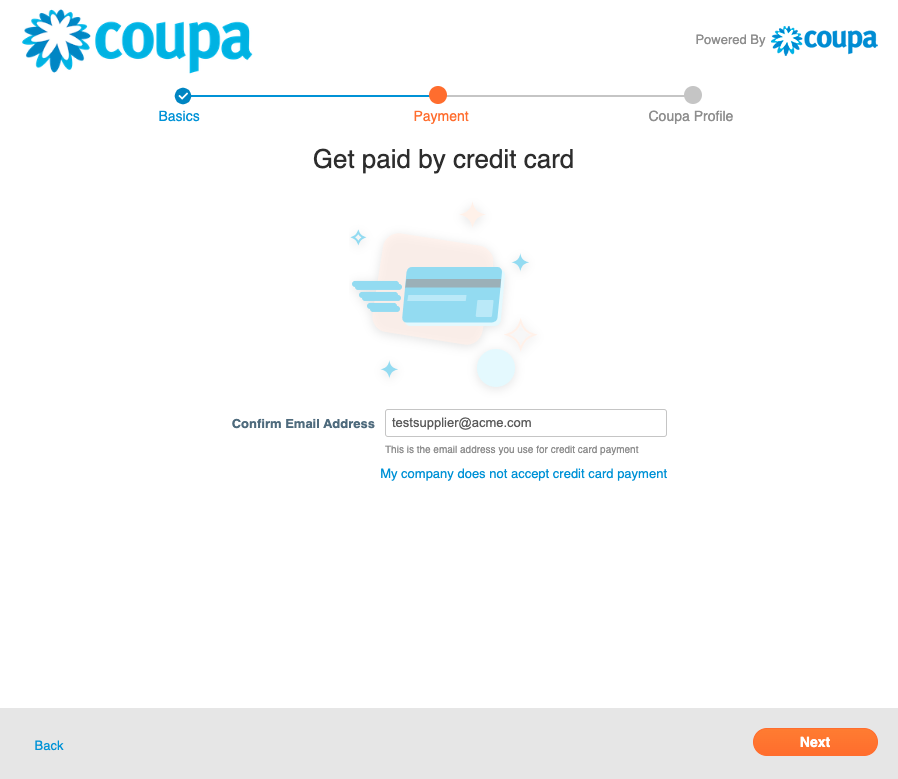

Onboarding Flow – Virtual Credit Card Payments
If your customer offers credit card payments, you will see the option to get paid by virtual credit cards sent directly to your payments email address.
Virtual cards are the preferred way for businesses to pay suppliers. Virtual card help your customers expedite their payables and get you paid faster
If you select “My company does not accept credit card payment” you will be guided to a different option for getting payments and asked to fill in the respective details.
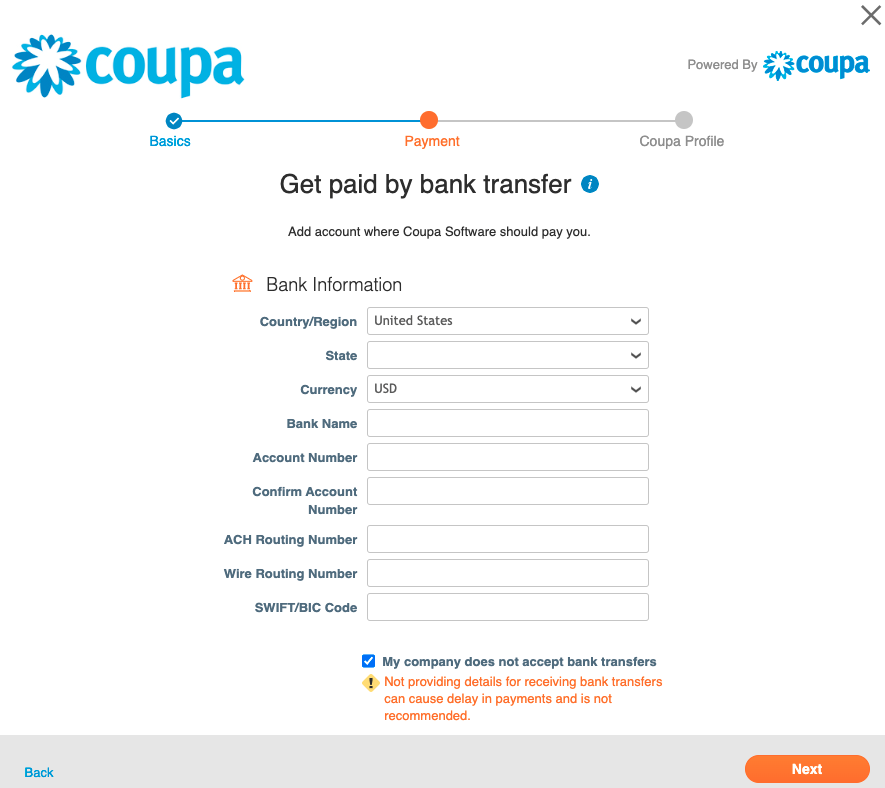
Onboarding Flow – Bank Transfer Payments
If your customer offers bank transfer payments, you will see the option to get digital payments sent directly to your bank account.
Click here for guidance on the specific bank information required for your country.
TIP: To avoid additional wire and banking fees, set your bank account currency to match your home country currency. Your invoice currency must match the currency of your bank account to process payments successfully.

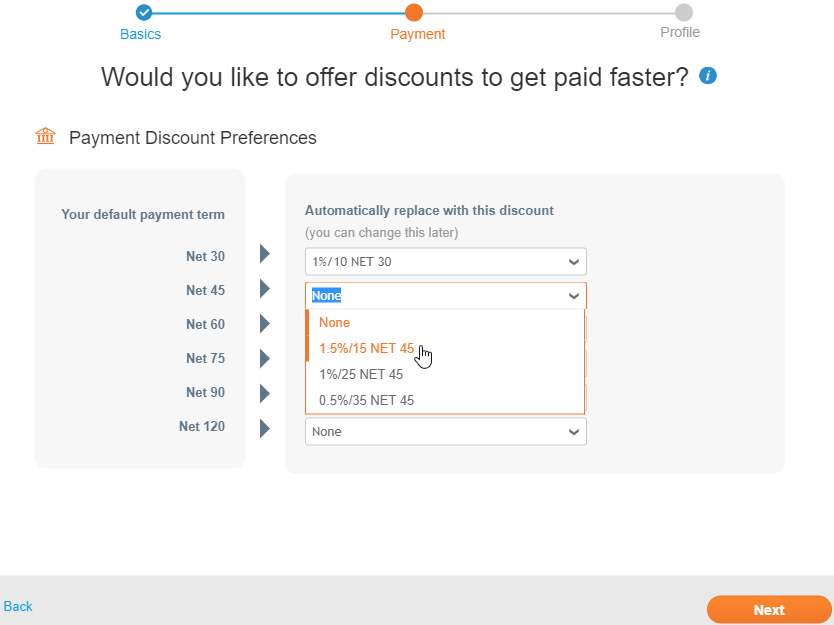

Onboarding Flow – Payment Discount Preferences
Note: Providing your payment discount preferences is optional.
These preferences are automatically applied to all your invoices with the customer.
On the left, you can see your default payment term(s), and on the right, you can select new terms to automatically replace the existing ones.
You can modify them later at any time from Setup > Admin > Payment Preferences > Static Discounting.
Use the Back button to go back to the pages with bank and basic information.
Supplier Profile
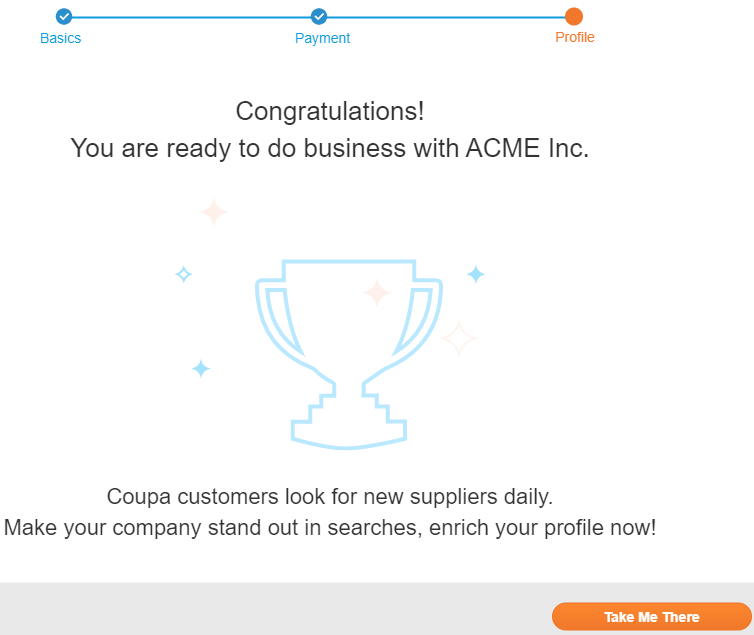
Clicking on the Next button from Payment Preferences setup takes you to the Congratulations page informing you about your successful setup that allows you to do business with your customer.
You are encouraged to update your public profile so that other customers can also find you. Click on the Take Me There button to open your public profile in edit mode. For more information, see Create or Update Your Profiles.

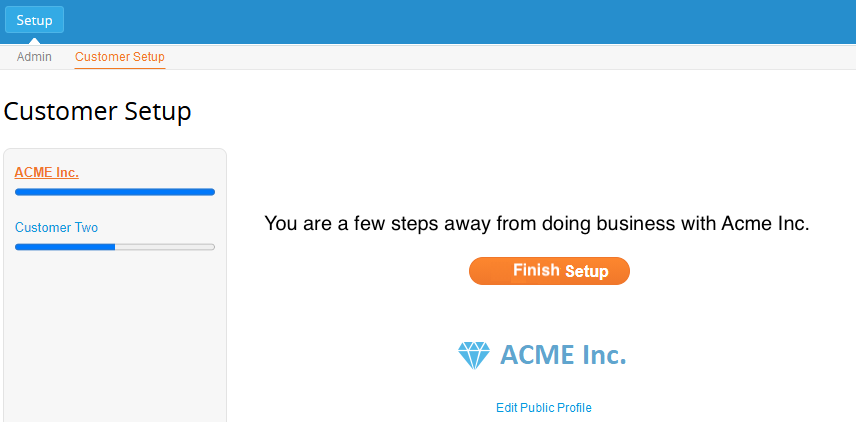

Customer Setup Progress
You can exit any element of the flow any time by closing it with the “x” in the right corner above the Coupa logo, and you can continue the flow to provide your information later.
On the Setup > Customer Setup page, you can see the list of all your customers and the status of your onboarding flow (setup progress) with each of them indicated by the green progress bar.
Select the customer name to see the relevant instructions and buttons to take the necessary actions.
– If you completed the onboarding flow, you can start transacting with your customer. You can go to the Admin page for more setup options or you can edit your public profile.
– If you exited the flow before completing it, you can resume it with the Finish Setup button.
– If you have not provided information for your customer, you can Start the flow.
– If you have not completed the flow for a customer, you are prompted to complete the customer setup when you log in again.